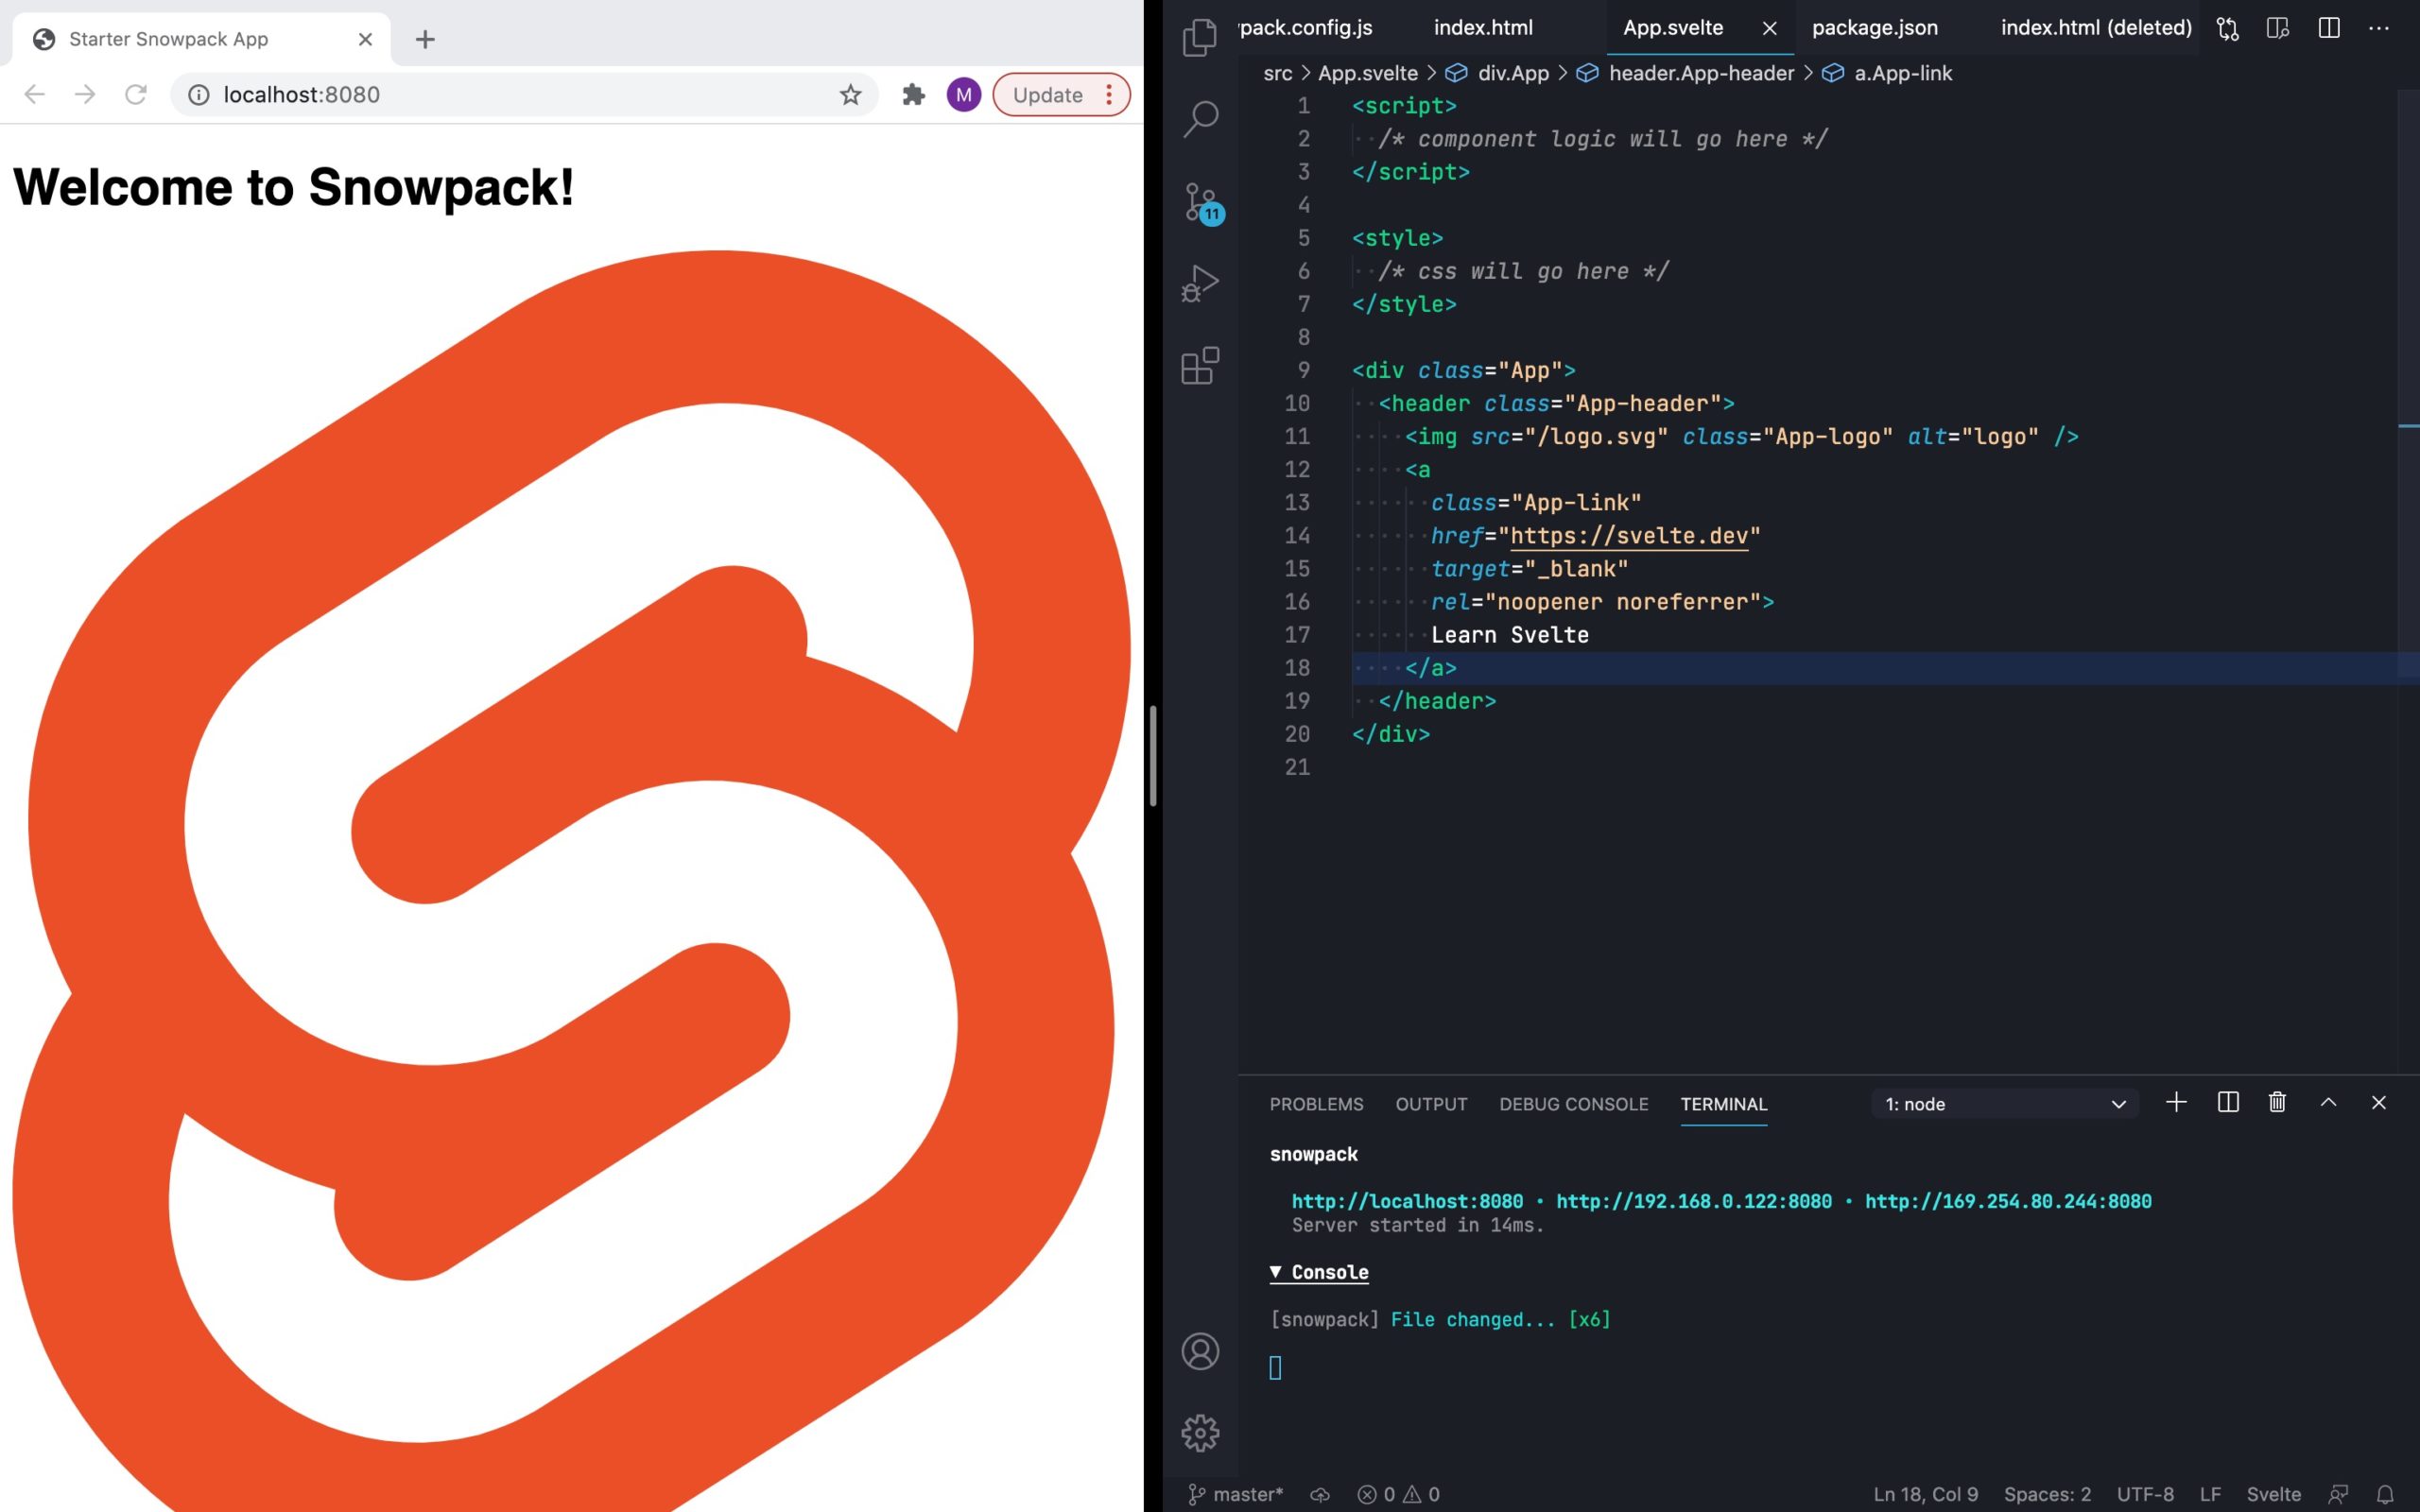
Svelte is a modern JavaScript library that offers a streamlined and efficient way to build web applications. Its simplicity and performance make it an excellent choice for developers of all levels. If you’re new to Svelte, this comprehensive tutorial will walk you through the process of creating a basic app, from installation to deployment.
Getting Started with Svelte
1. Install the Svelte CLI
The first step in your Svelte journey is to install the Svelte Command Line Interface (CLI). Open your terminal and run the following command:
bashCopy code
npm install -g svelte-cli
This will globally install the Svelte CLI, enabling you to create and manage Svelte projects from the command line.
2. Create a New Svelte Project
With the CLI installed, you can now create a new Svelte project. Run the following command to generate a new project folder named “my-app”:
bashCopy code
svelte create my-app
This command will scaffold a new directory called “my-app,” complete with all the necessary files and dependencies for a Svelte project.
3. Understand the Project Structure
Your new Svelte project will have the following directory structure:
- public: This folder holds any static assets like images, fonts, or other media files that you want to include in your app.
- src: This is where your application’s source code resides. The main entry point is
src/main.js, which is where you’ll import and render your Svelte components. - package.json: This file contains metadata about your project, including dependencies and build scripts.
4. Crafting Your First Component
In Svelte, components are reusable pieces of UI that encapsulate HTML, CSS, and JavaScript. To create your first component, navigate to the src folder and create a new file named MyComponent.svelte.
Here’s a simple example of a Svelte component that displays a greeting:
svelteCopy code
<style> h1 { color: purple; } </style> <h1>Hello, {name}!</h1> <script> export let name; </script>
5. Import and Render the Component
To utilize your newly created component, you’ll need to import it into your main application file (src/main.js) and render it:
javascriptCopy code
import MyComponent from './MyComponent.svelte'; const app = new MyComponent({ target: document.body, props: { name: 'Svelte' } });
6. Build and Run Your App
Finally, it’s time to see your app in action. Add the following scripts to your package.json file to build and run your app:
jsonCopy code
"scripts": { "dev": "sirv public --dev", "build": "sirv public --single" }
To start the development server and view your app in the browser, run:
bashCopy code
npm run dev
For a production-ready build, execute:
bashCopy code
npm run build
Wrapping Up
Congratulations, you’ve successfully built your first Svelte app! This tutorial has provided you with the foundational knowledge you need to start building more complex applications. As you become more comfortable with Svelte, you can delve deeper into its rich ecosystem and explore its full range of capabilities. Happy coding!


